Managing templates
From the Templates driver page, you can do the following:
- Add, edit, or delete Pro Forma or Summary templates.
- Assign template groups to designate the inputs to include in the template.
TIP: If you are unfamiliar with how capital projects templates work, we recommend that you first review Configuring capital project templates.
Adding or editing a template
There are two types of templates available:
- Summary (Non-Threshold) – Use this for smaller, routine, or replacement capital items.
- Pro Forma (Threshold) – Use this for larger, strategic capital items.
NOTE: For more information on these template types, see Understanding Threshold and Non-Threshold projects
To create or modify a template:
-
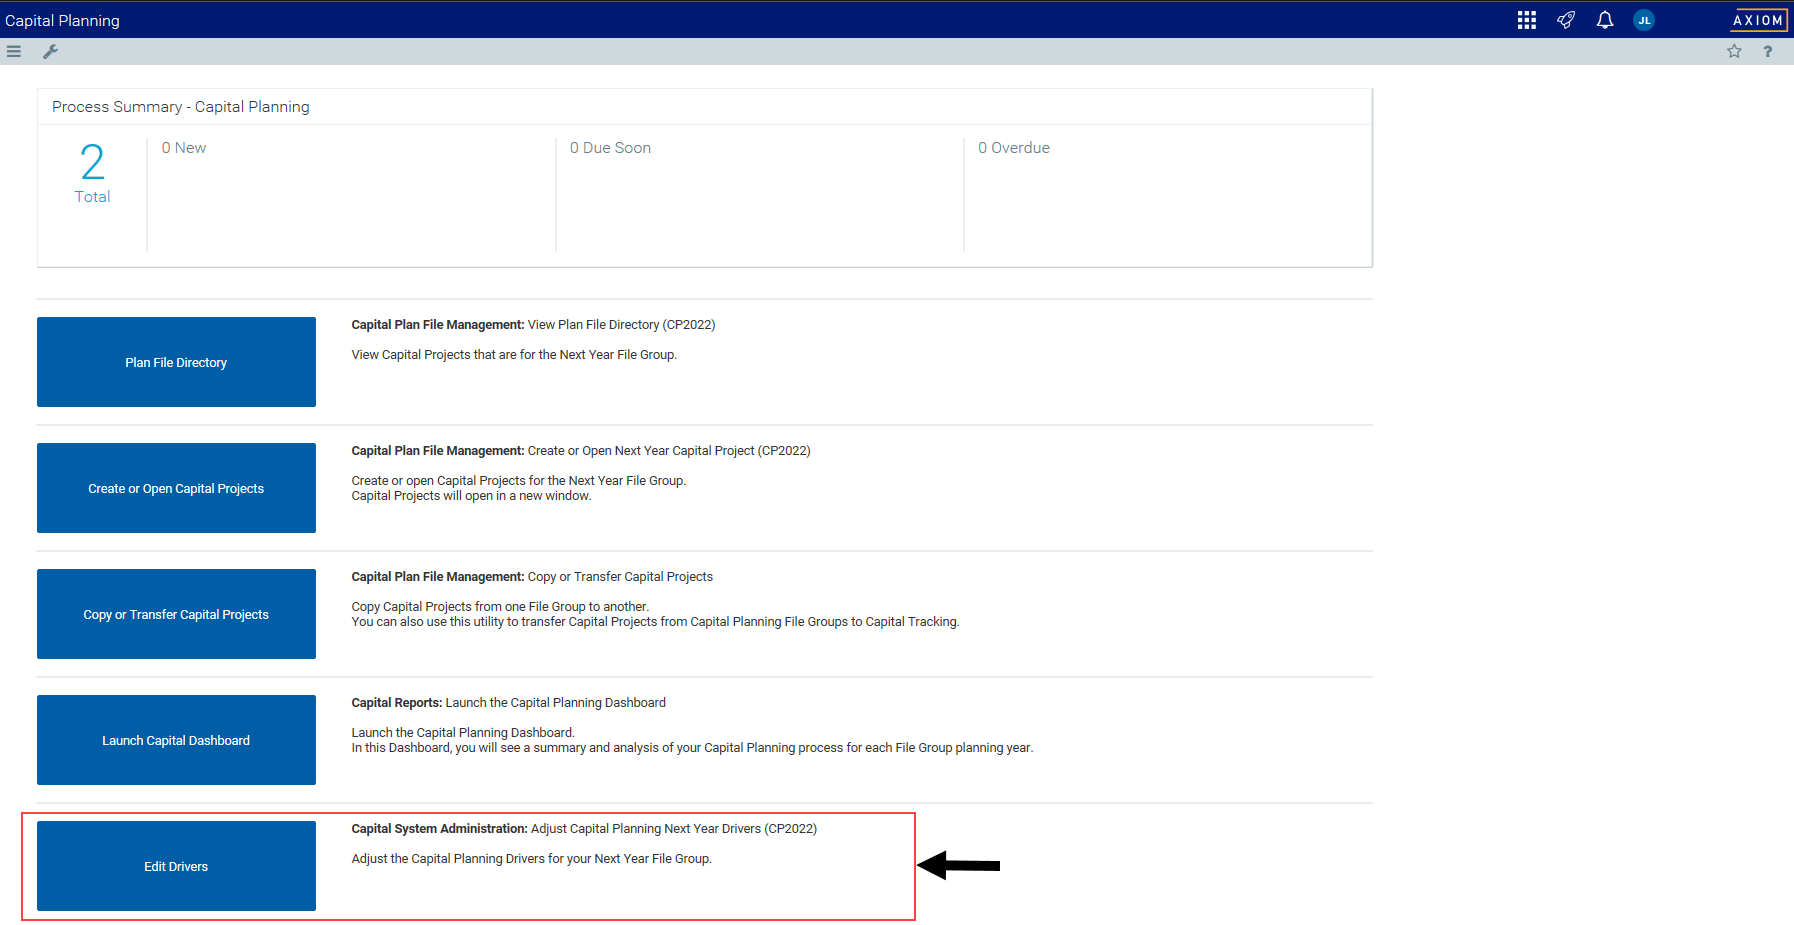
From the Axiom Capital Planning home page, click Edit Drivers.
NOTE: To access this location from the Cap Planning Admin task pane, in the Administration section, click Capital Planning Drivers, and double-click Capital Planning Drivers.

Click image to view full size
-
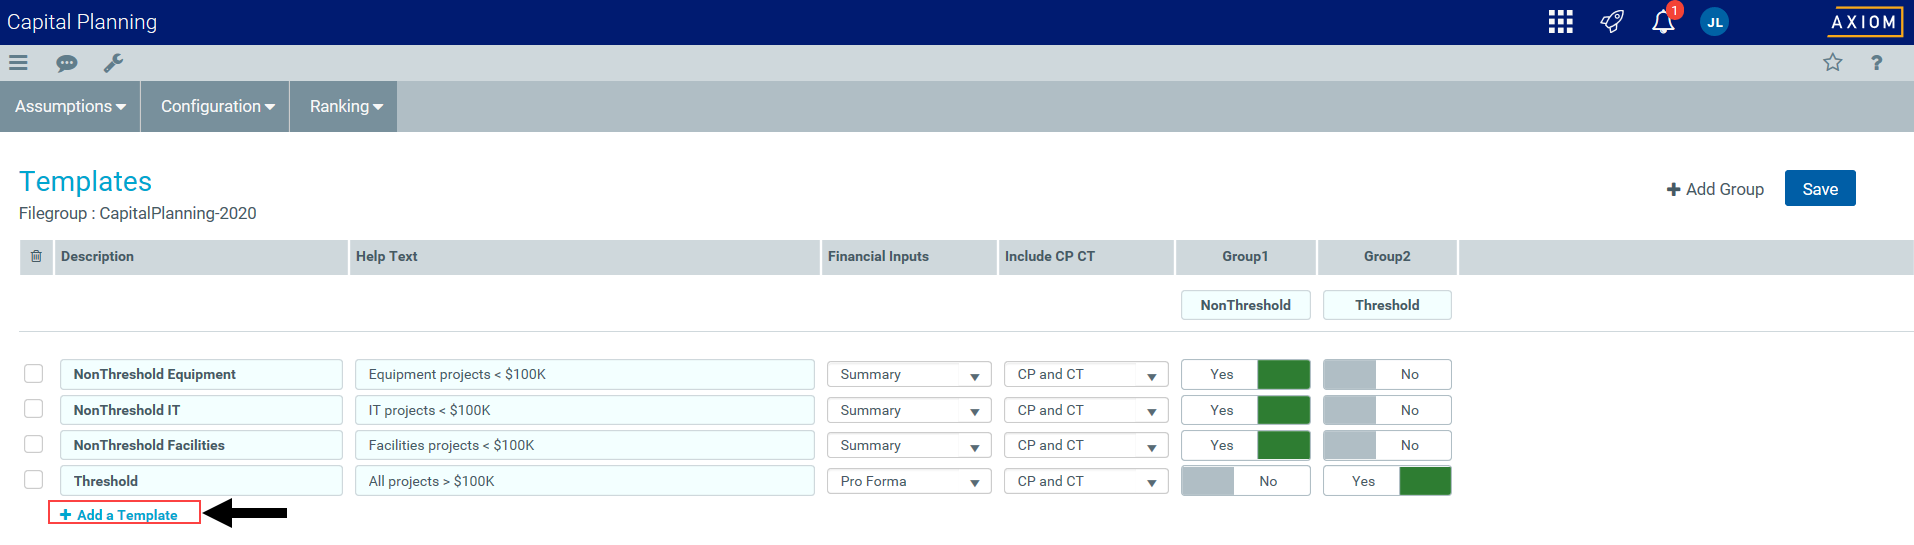
From the Configuration tab, click Templates.
-
To create a new template, click +Add a Template.

Click image to view full size
-
Complete the following fields:
Option Description Description Type a name for the template. Help Text Type a description of the template. Financial Inputs Select the template to use: Threshold (Pro Forma) or Non-Threshold (Summary)
Include CP CT Select where to make the template available:
- CP and CT
- CP Only
- CT Only
-
Never
TIP: The Never option allows you to hide the template from end users so it will not display in the list of available templates. This is a useful feature that allows you to work on a template without making it available to your organization until you are ready to start using it.
Group1 - Group20 See Create or modify a template group. - After making your changes, in the upper right corner of the page, click the disk
 icon to save your changes.
 -
To configure the inputs and sections to display in the templates, do the following:
- Pro Forma - See Configuring Pro Forma template default inputs.
- Summary - See Configuring summary financial capital and operating default inputs
Create or modify a template group
Template groups allow you to select different sections and inputs, and group them together so that you can easily include them into any of your custom Pro Forma or Summary templates. You can add up to 20 predefined template groups in the Group Name row, and then select to include (Yes) or exclude (No) each template group from the templates.
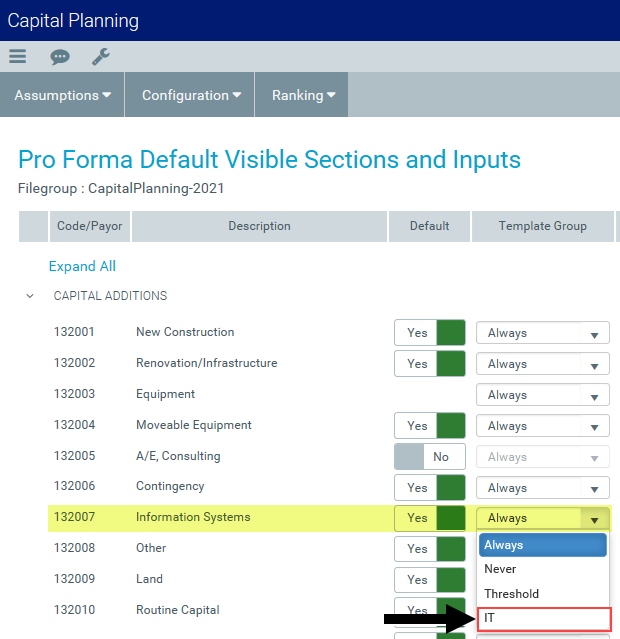
For example, let's say you want to create a Pro Forma template specific to IT, and you only want to include capital additions items related to those types of projects. You can create a template group named IT, and then from the Pro Forma defaults driver page, select the sections or inputs to include.
Click image to view full size
For Summary templates, after you create a templates group, you select the inputs from the Summary Financial Capital and Operating Inputs driver page.
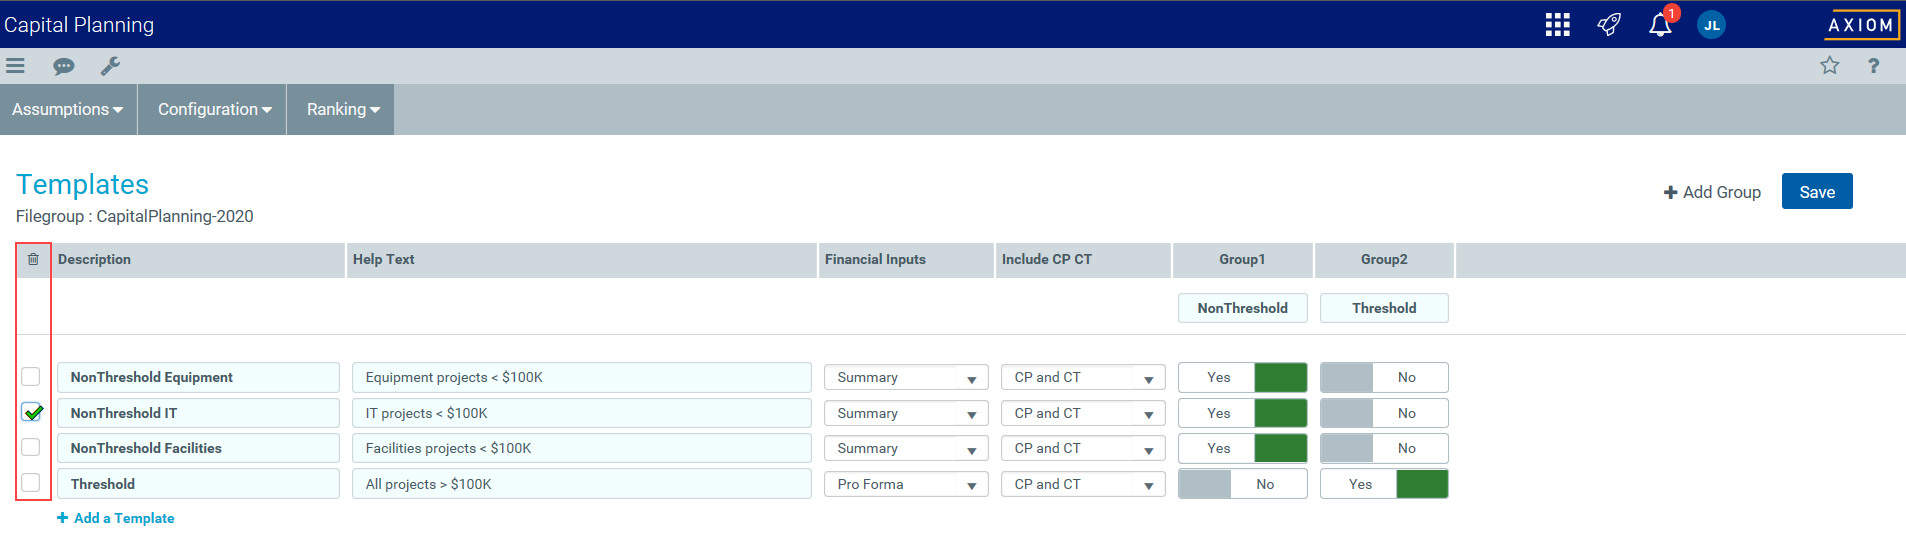
You can then apply that template group to specific templates. In the following example, the IT template group is applied to the Threshold_IT project template.
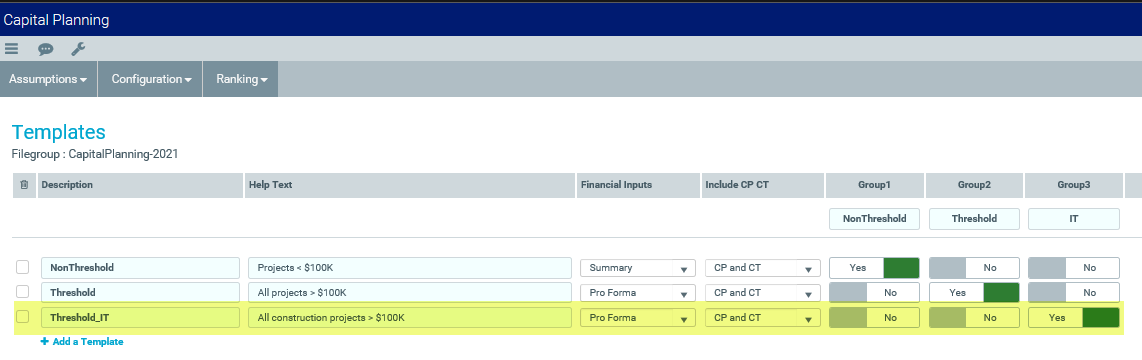
Click image to view full size
Now, when a user opens the Threshold_IT project template, the Information System inputs will be included. These inputs will not be included in the Threshold project template.
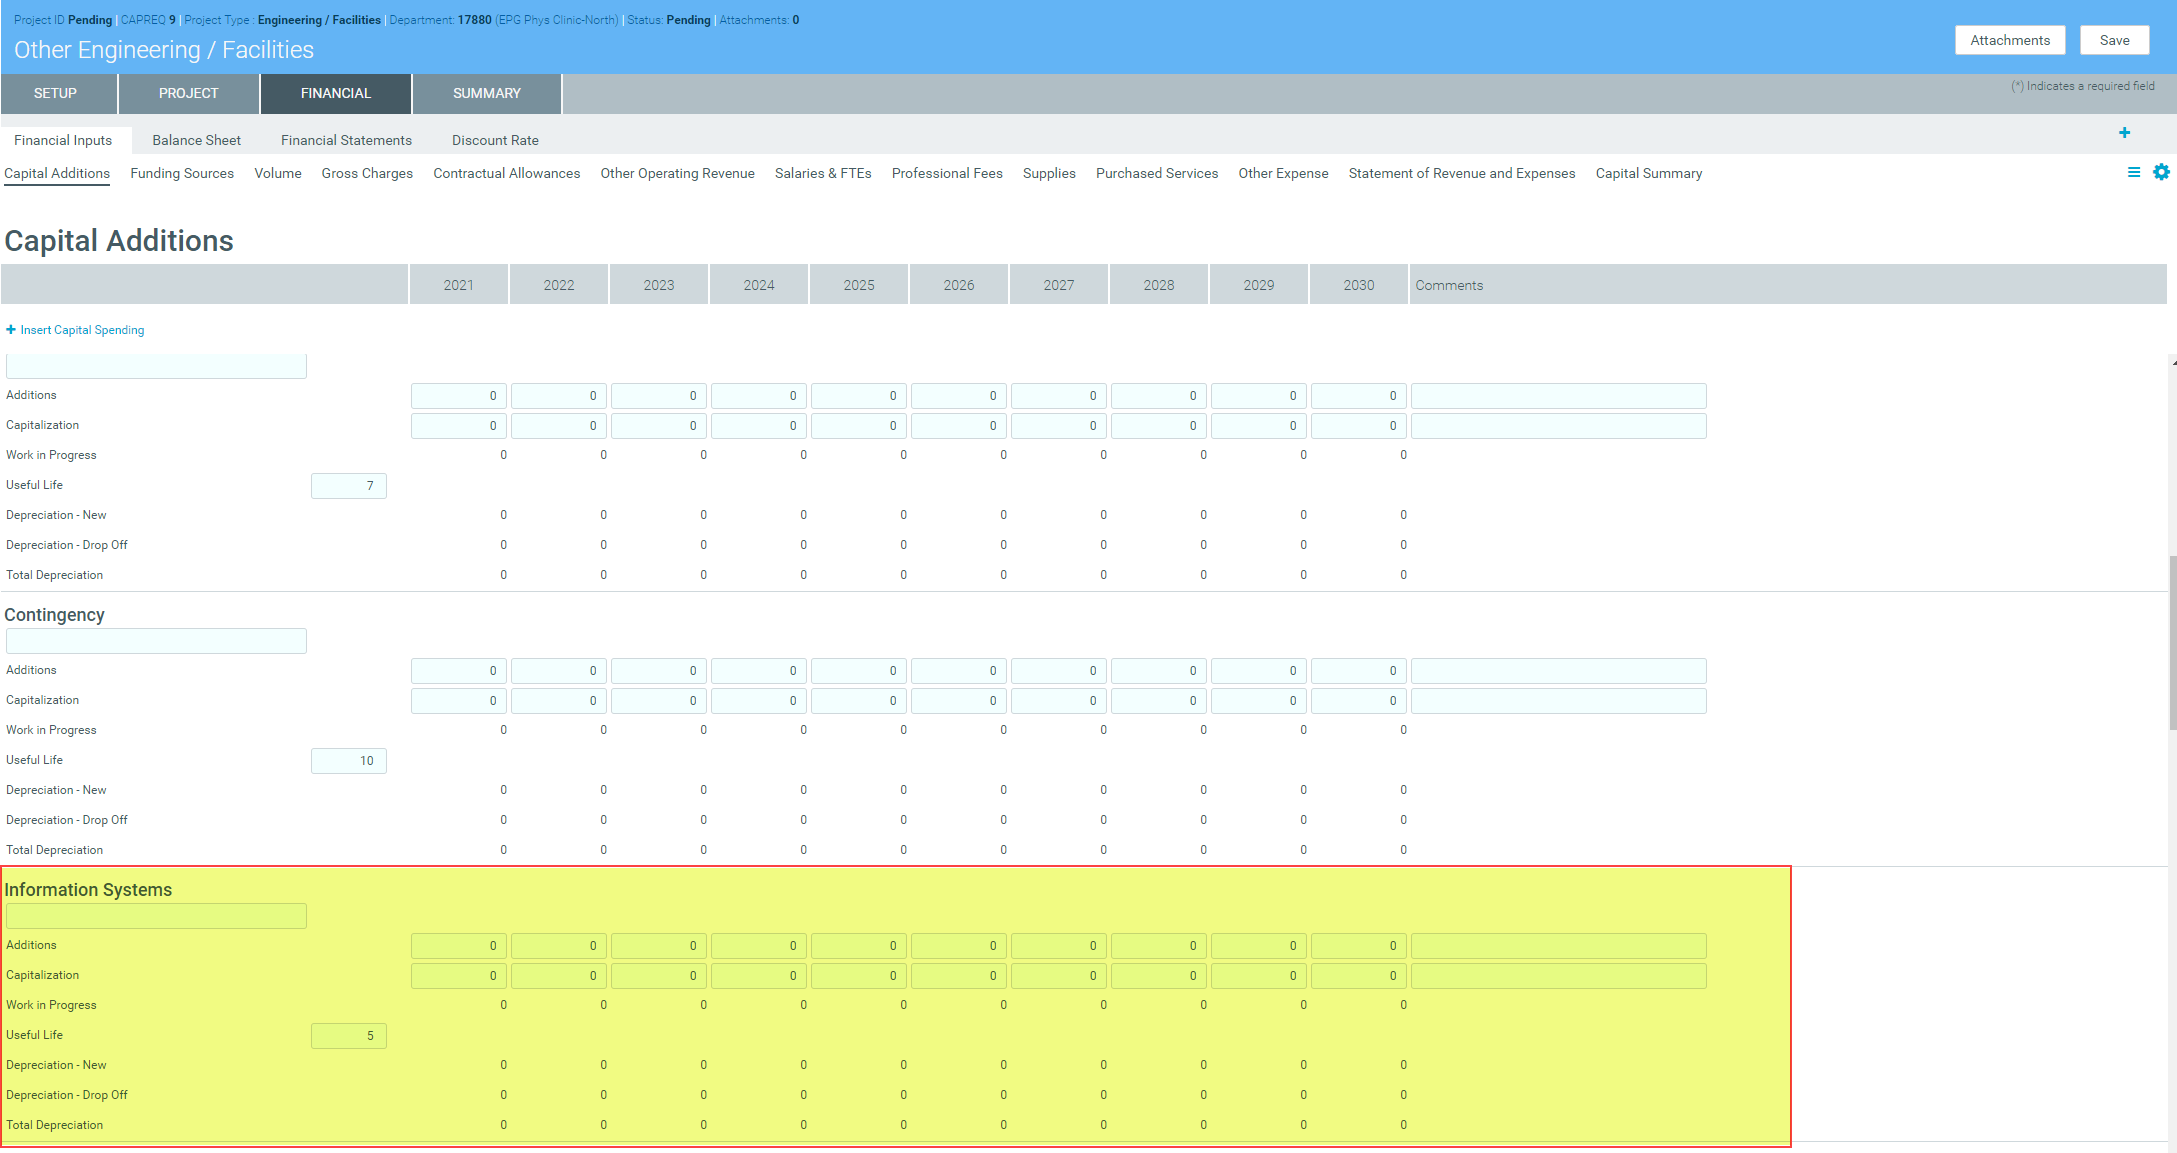
Click image to view full size
To create or modify a template group:
-
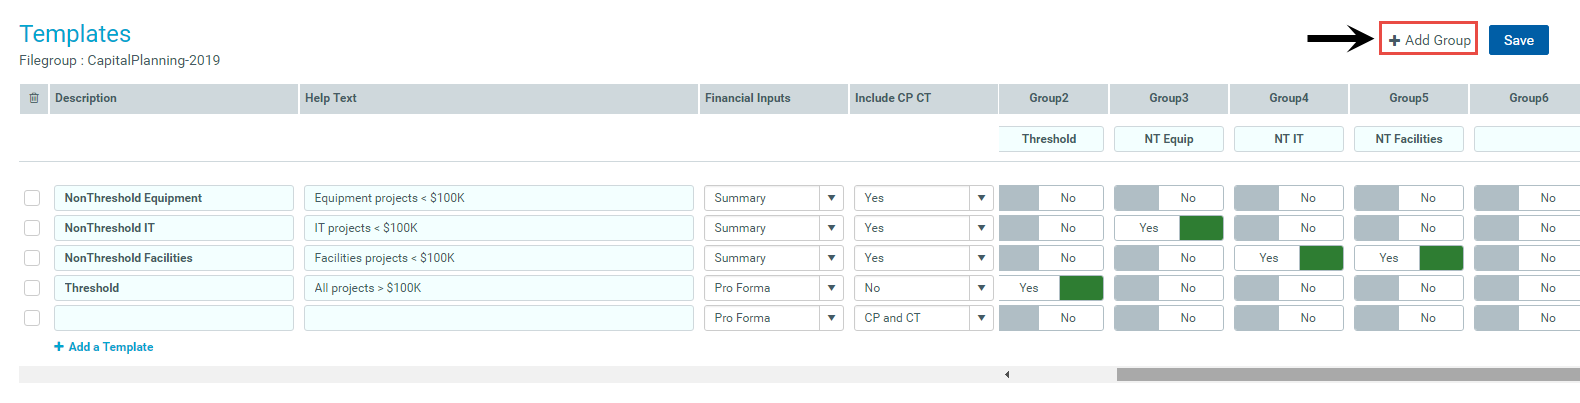
In the upper right corner of the Templates page, click +Add Group.

Click image to view full size
-
In the field under the group number, type a name for the template group.
Click image to view full size
- For each template, select whether to include (Yes) or exclude (No) the template group.
- After making your changes, in the upper right corner of the page, click the disk icon to save your changes.
- At the confirmation prompt, click OK.
-
Assign the sections and/or inputs to include in the template group by doing the following:
-
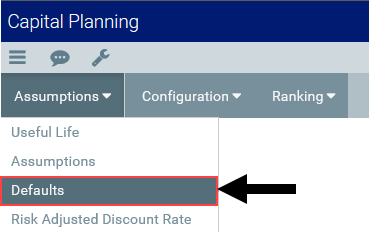
Pro Forma - Navigate to Assumptions > Defaults.

Click image to view full size
-
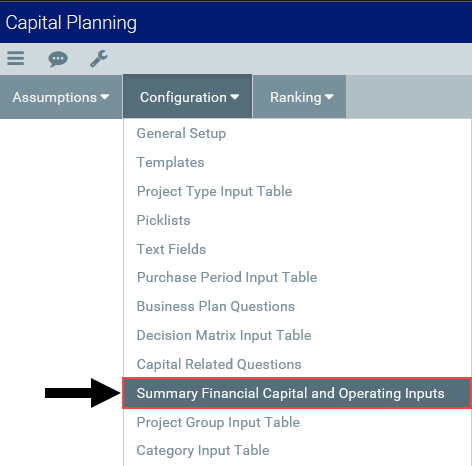
Summary - Navigate to Configuration > Summary Financial Capital and Operating Inputs.

Click image to view full size
-
- Do one of the following:
- Pro Forma - Select the template group from the Template Group column.
- Summary - Select the template group from the Enable for Template Group column.
- After making your changes, in the upper right corner of the page, click the disk icon to save your changes.
- Process the plan files to propagate your changes

Deleting a template
IMPORTANT: Do not delete templates that are being used by plan files. You need to update the plan files in the CPREQ table prior to deleting the template.
To delete a template:
-
In the first column of the table, click the check box in the trash bin
 column to delete.
Click image to view full size
- After making your changes, in the upper right corner of the page, click the disk icon to save your changes.
- Process the plan files to propagate your changes